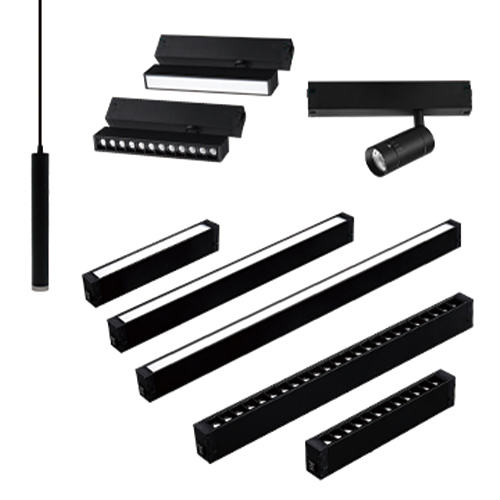
Due to its concealed design, concealed track installation quality directly impacts safety and lighting performance. For the ultra-narrow 4.5mm series concealed single and double tracks, rigorous inspections are required: pre-installation preparation, in-process control, and post-installation testing.
Step 1: Pre-installation Preparatory Procedures to Avoid Foundational Risks
First, verify the compatibility of the track parameters with the installation environment: The slot size for ultra-narrow 4.5mm single tracks (such as JZ-A GD) is 109mm, and for double tracks (JZ-A2 GD) it is 1610mm. Use a professional measuring tool to mark the slot location, ensuring that the slot depth and width match the track dimensions within 1mm to avoid track insertion problems or uneven load distribution due to dimensional deviations. Also, inspect the wall/ceiling structure in the installation area to avoid hidden lines such as rebar and water pipes. If the ceiling is made of gypsum board, install a wood panel backing in advance to increase the track’s load-bearing capacity. (For double tracks, which support multiple lighting fixtures, the backing should be at least 15mm thick to prevent the track from falling off later.) Additionally, confirm that the power supply system is compatible with the track. This series requires a DC48V low-voltage power supply. Before installation, test the power cable polarity and voltage stability to prevent voltage mismatches that could burn out the track’s internal circuitry.
Step 2: Standardize installation procedures and pay attention to detail quality.
When inserting the track into the slot, first clean the slot of dust and impurities. Apply a small amount of neutral silicone adhesive to enhance stability. Then, insert the track smoothly, ensuring that the track is flush with the wall/ceiling surface, with a gap of no more than 0.5mm, to prevent dust accumulation and aesthetic impact. Pay special attention to wiring: When stripping the power cable insulation, limit the exposed copper core to 5-7mm. After securely connecting to the track terminal, wrap it with at least three layers of insulating tape to prevent short circuits. Because double-tracks carry multiple circuits, separate positive and negative poles to ensure stable current flow after the lighting is connected. After installation, use a level to check the track’s flatness. Both single and double tracks must maintain a horizontal deviation of ≤2mm per meter to prevent the lighting from sliding due to track tilt.
Step 3: Comprehensive Post-Installation Inspection to Eliminate Safety Hazards
First, conduct a power-on test: After connecting to a DC48V power supply, use a multimeter to check the rail’s output voltage. The error must be within ±5%. Also, test the magnetic fixture’s adhesion stability. Mount one to two 6-10W lamps on a single rail, or three to five lamps on two rails. After standing for 24 hours, observe the rails for looseness. Next, check the rail’s protective performance: wipe the rail surface with a dry cloth to confirm that dust cannot penetrate the internal circuitry, as per the IP20 protection rating. Finally, perform a load test: Apply an additional tensile force of 1.5 times the rated load (approximately 5kg) to both rails for 10 minutes without deformation to ensure long-term safety.


