

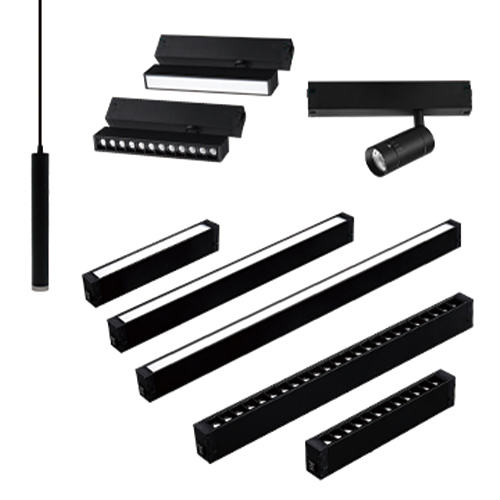
How to Size a 48V Magnetic Track Light Power Supply
Choosing a power supply for a 48V magnetic track light system starts with the total wattage of every fixture that can operate on the powered section at the same time. From there, add practical headroom, select the next suitable rating, and verify voltage, control method, installation conditions, and future expansion.
Many project mistakes happen because buyers size the power supply by track length alone or treat a planning margin as a universal rule. A better approach is to size the system as an electrical circuit, then confirm the final selection against the supplier’s technical data.
What Does a 48V Magnetic Track Power Supply Do?
A 48V magnetic track system typically needs a power supply that converts incoming AC power into the 48V DC output required by the track. The track distributes that low-voltage power to connected lighting modules.
Track length does not directly tell you how many watts the power supply must provide. A three-meter track with two small spotlights may need less power than a one-meter track loaded with several higher-wattage modules.
Power Supply vs. Fixture Driver
Project documents may use terms such as power supply, driver, transformer, or converter loosely. For procurement, focus on the actual function and specification. The track power supply provides the 48V DC bus, while individual modules may contain electronics for current control, dimming, or communication.
How Do You Calculate the Required Power Supply Wattage?
Start with every light connected to the same powered section. Multiply the wattage of each fixture by its quantity, then add the results.
Total Connected Load = Σ (Fixture Wattage × Quantity)
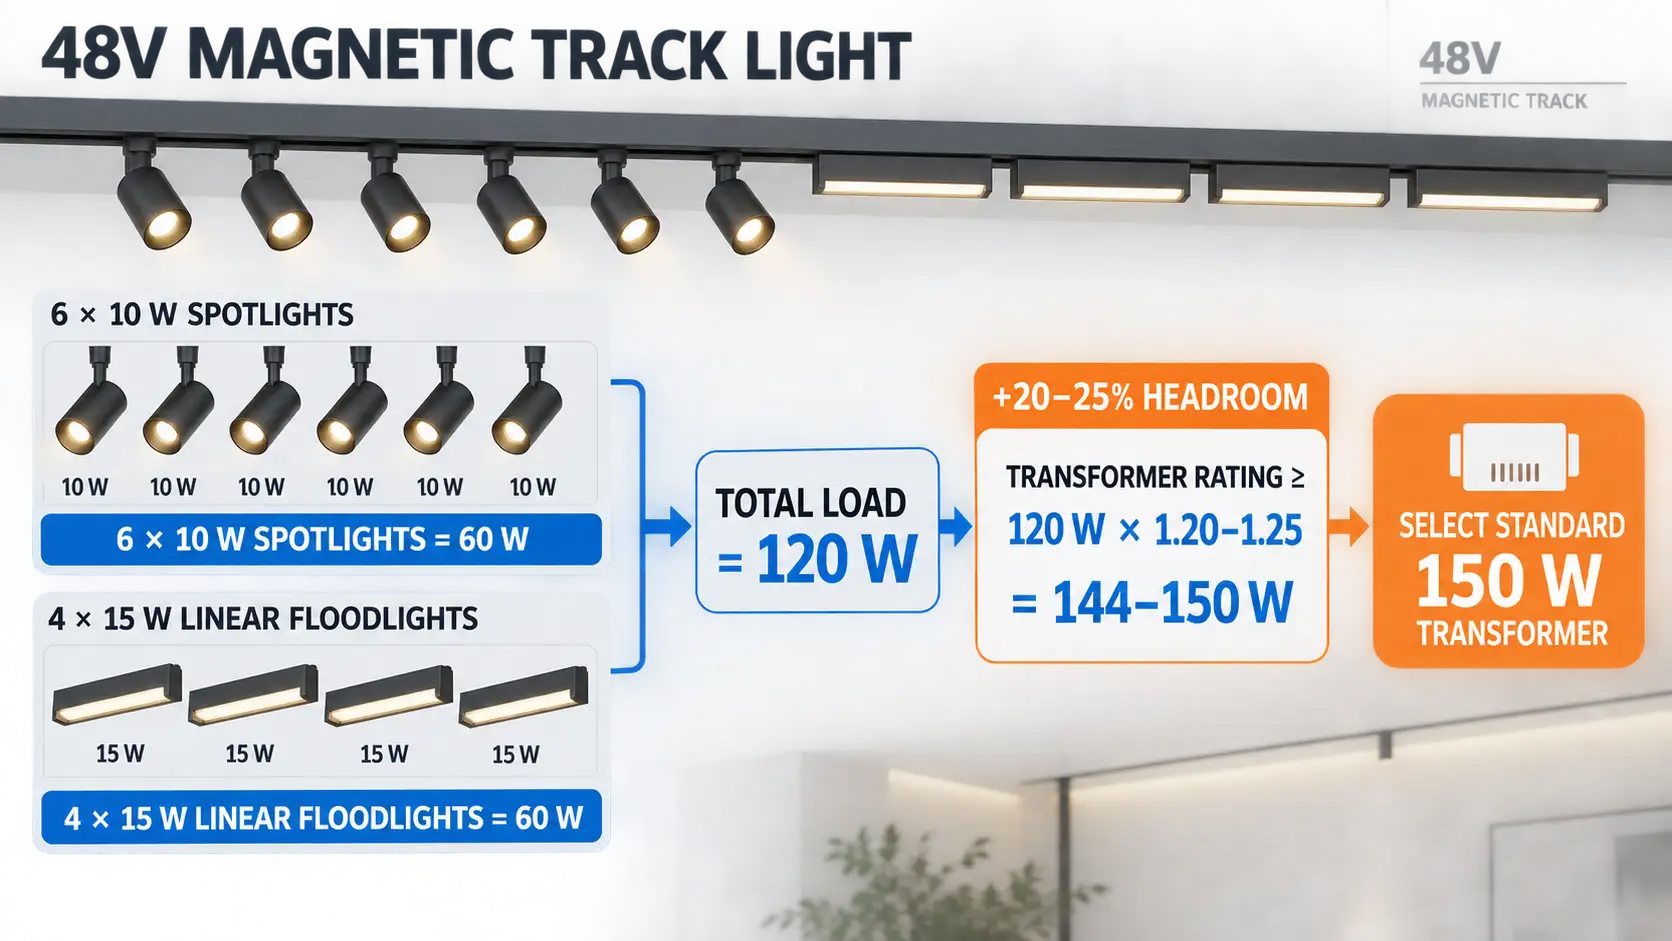
Suppose a retail display uses six 10W spotlights and four 15W linear modules.
-
Six 10W spotlights = 60W
-
Four 15W linear modules = 60W
-
Total connected load = 120W
The 120W figure is the starting point, not automatically the final power supply rating.
Step 1: Add Every Fixture on the Powered Section
Use the rated wattage for the exact fixture model you plan to buy. Do not estimate from physical size or compare only by lumen output.
This matters when one track carries mixed fixtures. A showroom might combine spotlights, grille lights, and linear modules on the same rail. If the purchasing sheet lists only fixture quantity, the electrical load can be understated.
Record each model, wattage, quantity, and powered zone on the project sheet.
Step 2: Add Practical Capacity for Continuous Use and Changes
Many project guides use a planning allowance above the calculated load rather than sizing the power supply exactly at the connected wattage. A common planning range is around 20% to 25%, but it is not a universal requirement.
The correct margin depends on the specific power supply, permitted continuous loading, ambient temperature, installation method, control equipment, and expansion plan. If the supplier specifies a different loading limit, follow that specification.
For a 120W connected load, a 20% planning allowance gives:
120W × 1.20 = 144W
You would then select an approved standard rating above the required capacity.
Step 3: Round Up to an Available Power Supply Rating
Power supplies come in standard wattage ranges, so the calculated number may not match a catalog rating. Select the next suitable rating that meets the supplier’s loading rules.
| Project Condition | Procurement Decision |
|---|---|
| Requirement is comfortably below an approved rating | Select the next suitable approved rating |
| Load is close to the power supply rating | Recheck permitted continuous load and thermal conditions |
| Required load is too high for one practical unit | Split the circuit or use a larger approved supply |
| More fixtures may be added later | Include planned additional wattage before ordering |
When Should You Use More Than One Power Supply?
A single large power supply is not always the best choice. Long track runs, separate control zones, maintenance access, and future expansion can make multiple supplies more practical.
Long Track Runs and Voltage Drop
A power supply can have enough total wattage and still be a poor fit for a long installation. Voltage drop, feed position, conductor design, and supplier limits also matter.
Consider a long retail aisle with fixtures spread across several meters of track. Instead of feeding everything from the far end, review where power enters the system and whether the run should be divided into more than one electrical section.
Ask the supplier for permitted track length, recommended feed arrangement, and limits for the rail and power supply combination.
Separate Lighting Zones
Commercial projects often need different areas to switch or dim independently. Two smaller power supplies assigned to separate zones may therefore be easier to control than one supply serving the entire layout.
This is common in showrooms, galleries, and retail stores where display areas change independently. Match the electrical plan to the lighting-control plan before issuing the purchase order.
Future Fixture Expansion
Magnetic systems let you reposition or add fixtures, but every added module changes the electrical load.
Suppose a showroom opens with eight modules and expects seasonal display changes. If extra spotlights are likely later, calculate that expected load before choosing the power supply. Otherwise, a unit that works on day one may need replacement after the layout changes.
What Else Should You Check Before Choosing a 48V Driver?
Wattage is only one part of the specification. A correct power rating does not fix a voltage mismatch, incompatible dimming, poor ventilation, or inaccessible installation.
Voltage and System Compatibility
Confirm that the output matches the 48V magnetic track system. The rail, fixtures, connectors, feed components, and control equipment also need to form a compatible system.
Products described as “48V magnetic track” can still differ in mechanical interface, conductor layout, connector design, or control architecture.
Dimming and Control
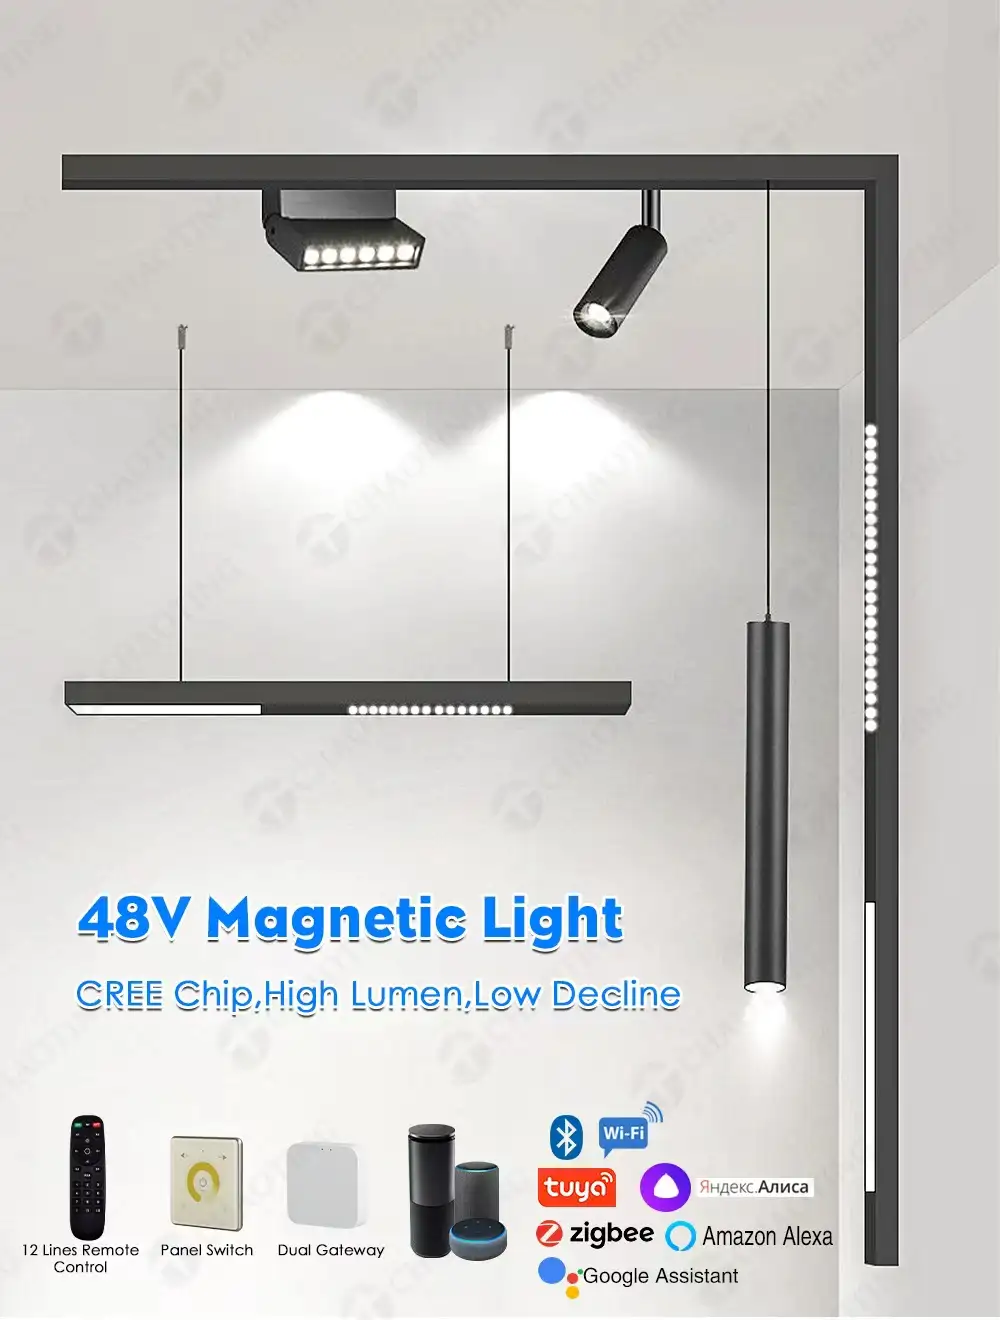
If the project requires dimming, scene control, app control, voice control, or another smart-lighting method, state that requirement before the power supply is selected.
The control method can affect the power supply or other system components. Include it in the RFQ and ask the supplier to confirm the compatible configuration.
Placement, Ventilation, and Service Access
Power supplies generate heat and may eventually need service. Review installation position, ventilation, and technician access before approving the layout.
This is particularly important in recessed ceilings, display cabinets, hotel interiors, and other projects where access becomes difficult after handover.
What Should You Put on the Power Supply Specification Sheet?
A short specification sheet prevents electrical assumptions from being lost between the designer, buyer, supplier, and installer.
| Field | What to Record |
|---|---|
| System voltage | 48V system requirement |
| Fixture model | Exact module reference |
| Wattage per fixture | Rated watts for each model |
| Quantity | Number installed in each powered zone |
| Connected load | Total simultaneous wattage |
| Planned expansion | Expected future fixture load |
| Selected supply rating | Approved wattage for that zone |
| Control requirement | On/off, dimming, or smart control |
| Installation position | Remote, ceiling, cabinet, or other location |
| Feed and zone plan | Number and location of powered sections |
| Supplier loading limit | Confirmed permitted operating range |
Use the same sheet during quotation review, sample approval, and final PO checking. If a fixture wattage changes, the effect on power-supply sizing becomes visible immediately.
What Should You Send Before Requesting a 48V Track Lighting Quote?
A supplier can match the system more accurately when the RFQ includes the project layout, fixture types, wattages, quantities, installation method, control requirement, and planned expansion.
For magnetic-lighting projects, Sampo Lighting develops and supplies LED track lights, lighting tracks, downlights, and related parts and accessories, with OEM and ODM services. Its range includes a 48V 20mm magnetic track series for residential, commercial, and event applications.
Submit the track layout, fixture list, quantities, installation method, control requirements, and expected future additions. These details give the supplier enough information to prepare a more specific system configuration and itemized quotation instead of estimating from track length alone.
FAQ
Q1: How do you calculate the power supply size for 48V magnetic track lights?
A: Add the rated wattage of every fixture that can operate on the same powered section at the same time. Add the appropriate project headroom, then choose an approved power supply rating that meets the supplier’s loading requirements.
Q2: How much extra power capacity should a 48V magnetic track driver have?
A: Many project guides use roughly 20% to 25% as a planning allowance. The final margin should still follow the specific power supply’s permitted continuous load, thermal conditions, installation method, and supplier data.
Q3: Can one power supply run several magnetic track rails?
A: It may be possible if total load, feed arrangement, voltage drop, control zones, and supplier limits permit it. Long runs or separate control areas may be better served by more than one supply.
Q4: What happens if a magnetic track power supply is too small?
A: An undersized supply may operate near or above its permitted load, causing unstable operation, overheating, shutdown, or reduced service life. Recalculate the connected load and check the manufacturer’s loading limits.
Q5: Should you choose a 100W or 200W magnetic track power supply?
A: Choose by calculated load, not by a preferred wattage. Add all connected fixture wattages, include the required planning margin, and select an approved rating that fits the actual system. Include expected future load before placing the order.


